If you’re moving to Mavely from another affiliate platform, you’re not starting from scratch—you’re upgrading.
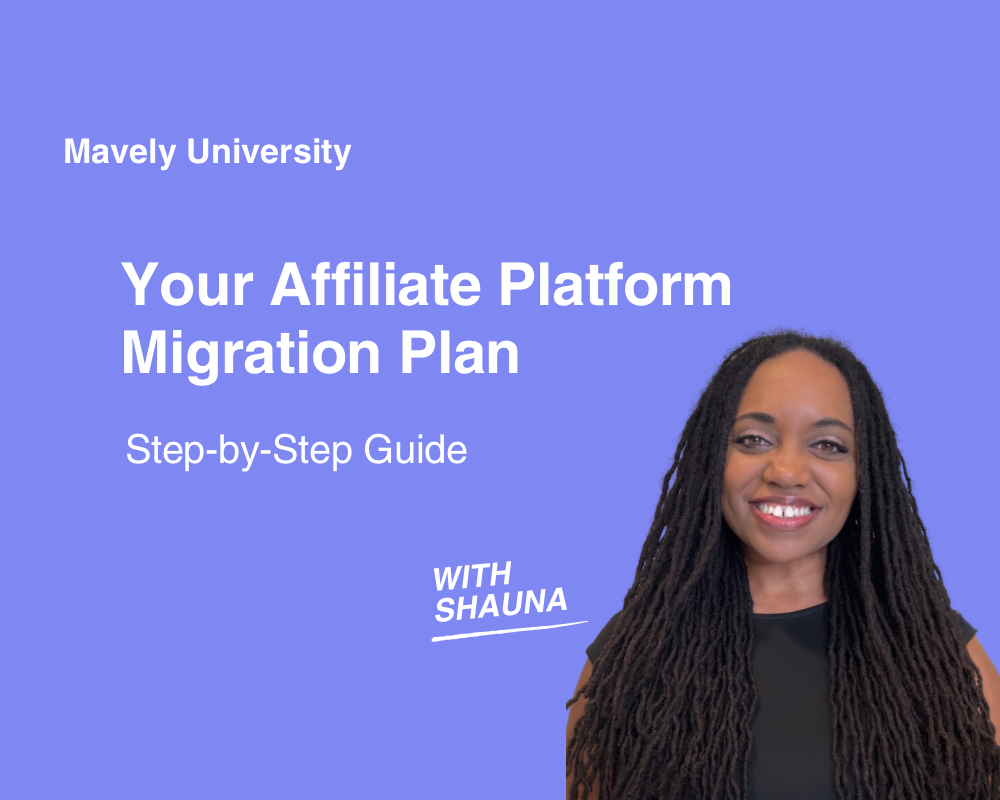
Whether you’re coming from Collective Voice, LTK, or another platform, this Mavely University training with Creator Education Manager Shauna Hollinger breaks down exactly how to prep, switch, and optimize your links so you can migrate without losing momentum. Watch the brief video below, or read on for step-by-step instructions.
Step 1: Download Your Old Platform Data
Before anything else, export all of your important data from your previous affiliate platform. This includes:
-
Earnings reports
-
Link performance and analytics
-
Payout history
Some platforms only let you download a limited date range at a time, so be prepared to do this in batches.
Note: If you’re migrating from Collective Voice, download your data by June 30, 2026. Don’t wait!
Step 2: Identify Your Money-Making Content
Once you’ve got your data, sort by commissions and conversions to find out what’s been working. Ask yourself:
-
Which links are still actively driving traffic?
-
Which platforms are hosting my top-converting content?
-
What content types (videos, Reels, carousels, etc.) are bringing in sales?
These are the links you’ll want to migrate first. Don’t worry about updating every single one — focus on what’s still working.
Step 3: Create Your Mavely Account
It takes less than a minute to sign up—no application, no follower minimum.
Sign up here or download the Mavely mobile app.
Once you’re in, install the Mavely browser extension to start generating links while you browse. We also have tutorials for setting everything up, right on our YouTube channel.
Step 4: Explore Brands and Commission Rates
Mavely partners with thousands of retailers in fashion, beauty, home, and more. Browse brand cards in the app, check out our transparent commission rates, and hit “Favorite” to save brands for quick access.
No guessing. What you see is what you earn.
Step 5: Migrate Your Priority Links
Start with your highest-performing content. Here’s how to update your affiliate links:
-
Expand your old affiliate link (e.g. a Collective Voice URL) to reveal the full product page URL.
-
Copy that retailer URL into Mavely’s link generator or use the browser extension to create a new Mavely link.
-
Paste your new Mavely link into your content.
Repeat for each high-priority post, and move on from there.
Step 6: Track, Test & Monitor
Use our free Notion migration tracker to stay organized.
Every time you update a link:
-
Click it to make sure it leads to the correct product
-
Check your Mavely dashboard to confirm it’s tracking
-
Monitor performance to see what’s converting
Your dashboard will show real-time clicks, conversions, and earnings so you can keep optimizing as you go.
Support That Doesn’t Stop After Signup
You’re never on your own at Mavely. Here’s what you get access to:
-
Influencer Development Specialists to help you get set up and gain traction
-
Creator Success Managers for advanced coaching and support
-
Mavely University trainings and tutorials on YouTube, available 24/7
From onboarding to ongoing growth, we’re here to help every step of the way.
Ready to Start Earning?
Affiliate migrations can feel overwhelming, but with a plan, it’s easy to move what matters, track your results, and grow faster with Mavely.
Watch more Mavely University trainings for tutorials, tips, and creator education
Not on Mavely yet? Sign up here and start earning today